I made a discover recently: I love to roast things. Mostly I roast vegetables, but a couple of months ago, I decided to try roasting pears. Now I have a new food love.
Roasting pears is really easy, and if you use juicy ripe ones, you get the added bonus of caramel flavor without adding even a bit sugar. Here’s what I do:
- Start with ripe pears. I like to use Bartlett, once they’ve turned from green to yellow. I find things work best with pears that have gotten somewhat soft, but not totally mushy.
- Cut pears in half, peel, and cut/scoop out the cores.
- Arrange them flat side down in a single layer in 13×9 glass baking pan, or your roasting pan of preference.
- Bake at 350 degrees for about an hour.
- When finished, the pears will be lightly browned and the juices that have run from the fruit will have mostly evaporated and caramelized.
- Remove the pears from the pan with a spatula. Put a tablespoon or two of water in the baking pan, and stir around with the spatula, scraping the caramel from the bottom of the pan. (You may want to let the pan cool a few minutes first, especially if using a glass pan.) Poor the resulting caramel/juice mixture over your pears, which will absorb most of the liquid.
- Serve warm. (I like them as they are, but I imagine they’d be good with vanilla ice cream, as well.) (They’re also pretty good cold, for that matter.)

1. The ingredients: some ripe bartlett pears.

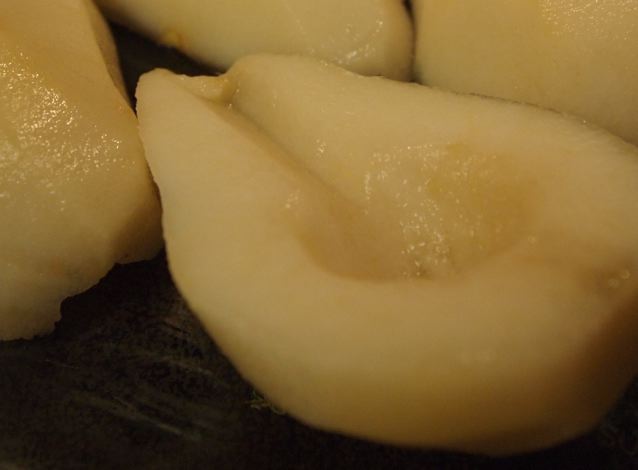
2. Some pears that have been halved, peeled and cored.

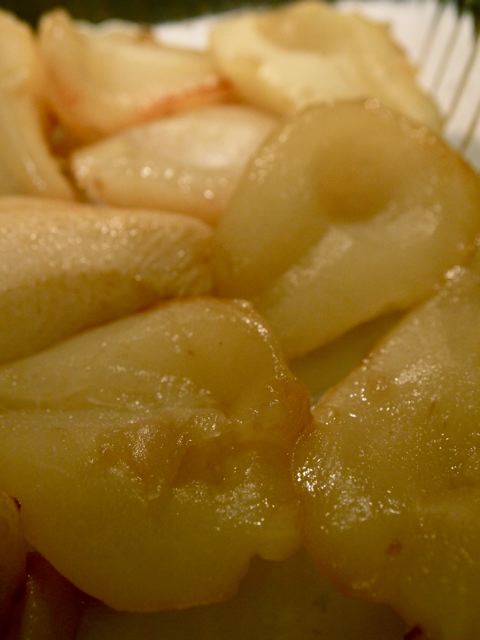
3. Pear halves arranged in a baking pan.

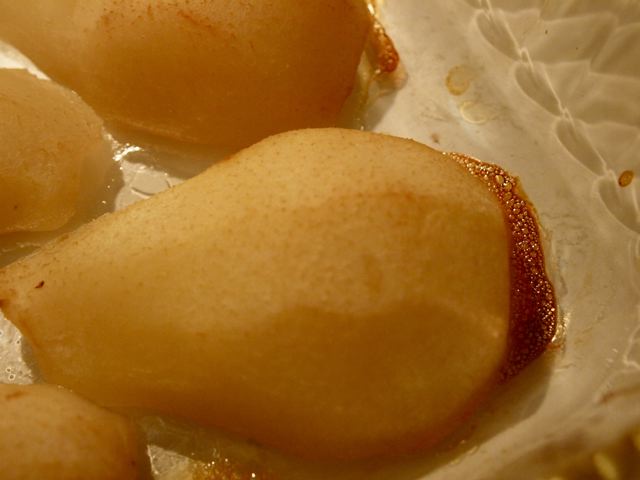
4. Roasted pears just out of the oven. (Okay, I did add a bit of extra cut-up pear. You don’t want the pan too full, though, or the juices won’t caramelize.)


wow. looks delicious. and easy. my kinda baking.
yummy! that first shot with the bits of dew on the pears is scrumptious.
Yum. That looks delicious.
I just had a raw pear with melted chocolate, but maybe I’ll try roasting the remaining pears from this week’s shopping. Thanks for the recipe! (And the gorgeous photos. Recipes are always better when they come with photos.)
in my bleary I-should-be-sleeping state, I read “caramelized peers.”
i bet your version tastes much better.
They look delicious! For someone who can’t cook and who can’t follow written instructions, I always appreciate when people post a lot of pictures for step by step instructions. May have to try this one day: I am thinking Thanksgiving week would be a good week to try.
Oh, that looks yummy!
My dad loved canned pears – although they were actually bottled in ‘heavy’ syrup. (My grandmother’s recipe.) Once, when I was low on white sugar, I blanched them in maple syrup. The result was so amazing that I was never allowed to go back to the original recipe.
A nice drizzle of maple syrup across the plate would make the baked ones (yum) a gourmet treat.
That looks like I need to try it. :) Great pics, too.
Uh, YUM! Photos are equally delicious.
OMIGOD YES.
Oh, they look delicious! I’ll have to try that. It’s a way I could eat pears without the annoying allergic reaction! (cooking the foods I’m allergic to negates my allergy for some reason)
Yum! that’s a new one, I love to do baked apples but haven’t done pears…maybe this weekend!