I heart artichokes

Having just posted pictures of artichokes two days in a row, I might as well go one further. In fact, I might as well come right out and confess: I love artichokes. My list of 40 things I like would be incomplete if I did not include artichokes.

I don’t remember the first time I tried an artichoke. I was born in California, where artichokes grow on trees. Well, not really. They grow from the ground in big spiky plants. (They are thistles, and the part you eat is a flower bud.) But in California, they do at least grow. And so it was that I got to have them on occasion. I loved them. They weren’t just my favorite vegetable, they were my favorite food. (You may recall my anecdote about being featured in a class newspaper under the headline “Girl Likes Artichokes.”)

I’m not terribly fond of marinated artichokes. They are okay, but not at all in the same league as fresh artichokes. My favorite way to have artichokes is steamed, accompanied by a small bowl of melted butter for dipping. (I’m even appending my own instructions.)

I can’t say what it is about artichokes that I love so much. I know what it is, but I’m not going to say. (No, not really.) They are just ineffably yummy.

Some people don’t understand the appeal of eating a vegetable that is so much work. (In case you’ve never eaten a fresh artichoke, the typical way to eat one is to peel off the leaves one by one, and scrape the small tender bit at the base of each leaf with your teeth.)

For me, the process is part of the appeal. You start of by eating the outer leaves, which are typically a bit tougher, and work your way in to the more tender and flavorful ones. Then you pick up speed, as the leaves get soft enough to bite through. Then you pluck off the ring of spiky inner leaves, and then scrape out the hairy choke with the utensil of your preference, finally reavealing the heart, which is worth all the trouble. I cut it up and roll the pieces around in whatever’s left of my little bowl of melted butter after I’ve dipped each leaf. Then I try to eat it as slowly as I can, because it is always over too quickly.

How I cook artichokes:

  1. Wash the artichokes
  2. Cut the stem close to the bottom of the artichoke. The stem, while close to the heart, is usually pretty tough and fibrous.
  3. Trim the spikes. I use a combination of a knife and kitchen scissors. With the knife, I saw through the tightly bunched tops of the artichoke leaves. With the scissors, I go around to the outer leaves and snip off the tips. Cutting the spikes off is not necessary, but may prevent bloodshed during dinner.
  4. Steam in a covered pan. I use one of those metal steamers that has sort of petal-like bits. I place the artichokes with the stem side down.
  5. To start, I fill the pan with water to just about the bottom of the steamer surface. Typically, I have to add water before the artichokes are finished. (It is not uncommon for the water to boil away.)
  6. The amount of time it takes to steam depends on the size of the artichoke. For a big artichoke, about 40 minutes is probably typical. I’ve had small artichokes take more like 20 minutes.
  7. You can tell that they are done by pulling at the leaves with some tongs. If a leaf come out easily, it is proabably done, but you should probably test it to be sure. You can also try poking at the bottom of the artichoke with a fork, but this involves lifting out the artichoke, which can be tricky.
  8. Serve with the dipping sauce of your choice. I vote butter.
  9. Share your artichokes with me.

A note of warning: whatever you do, wash your hands after you handle a raw artichoke. The residue is extremely bitter. If you, say, lick your fingers, you will get a nasty shock. On the other hand, some people may like this bitterness. I once bought a bottle of Cynar, the liqueur flavored with artichoke. I was curious, naturally. I can safely say that it was one of the nastiest tasting beverages I’ve ever tried. It tasted like licking a raw artichoke. (Not that I’ve ever done that.)

This post is the second in my generally unordered series of 40 posts about things I like.

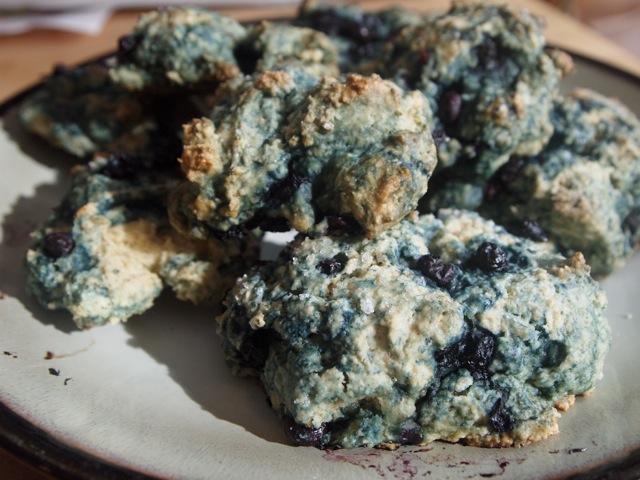
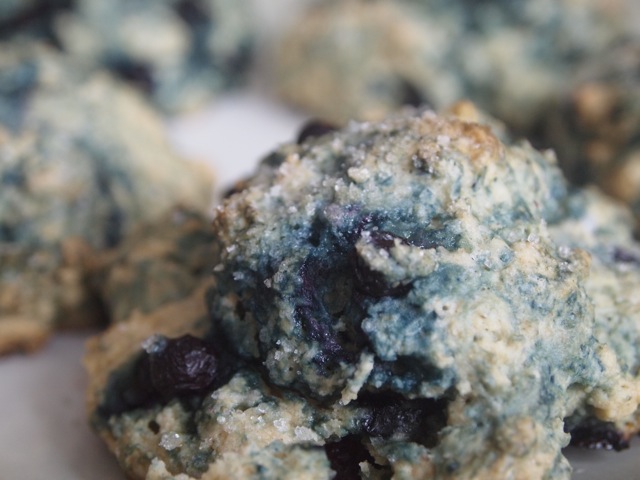
blueberry scones


blueberry oatmeal scones
1 cup oatmeal, blended into a coarse flour
2 cups white flour
1/3 cup sugar
1 tsp baking soda
1/2 tsp baking powder
1 stick salted butter (chilled)
about 3/4 cup milk (or soy milk)
about 3/4 cup blueberries (fresh, frozen or dried. If you use frozen, don’t thaw them first)
optional: 1 TBS coarse sugar

preheat oven to 375 degrees
grease 2 cookie sheets
• In a large mixing bowl, combine dry ingredients and mix thoroughly. (Be very careful to break up any lumps of baking soda. I hate biting into a bit of baking soda in a scone. The first scone I ever remember eating bit me back with a lump of baking soda. It’s a wonder I ever tried scones again. But I did, and we are friends again.)
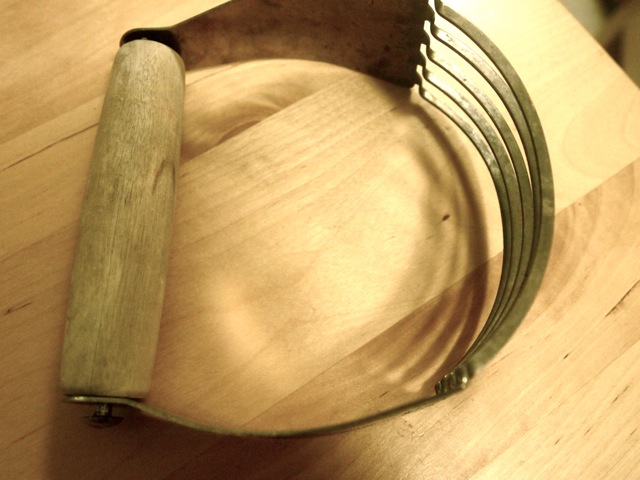
• Cut the stick of butter into smallish marble-sized chunks, then add to bowl of dry ingredients. Cut the butter into the flour mixture using a pastry cutter (also called a pastry blender) if you have one. (If you don’t have one, it sounds like you can use 2 butter knives.)
• When thoroughly blended, and the mixture appears to be a crumbly, grainy powder, add the milk a little at a time. Add just enough to achieve a very stiff, sticky dough. (I had to add a bit more than 3/4 cup.)
• Add the blueberries, and stir in. (I used frozen blueberries.)
• Drop lumps of the dough onto the cookie sheet in whatever size you think looks scone-like. I tried one pan of roughly 1/2 cup-sized scones, and another pan with maybe 1/4 sized scones. They will expand and spread a little bit, so give them a good inch or so between lumps.
• If you want, sprinkle a bit of coarse sugar on the tops.
• Bake at 375. The big scones took about 20 minutes, the smaller ones more like 10. The scones are done when you can see bits of lightly browned edges.

(This recipe is based roughly on recipes found here and here.)

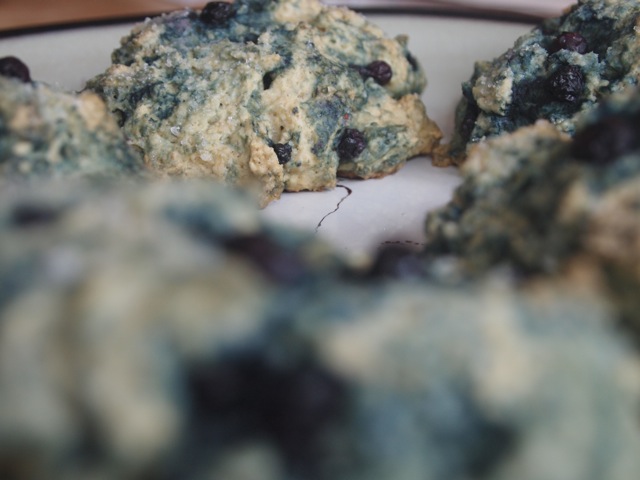
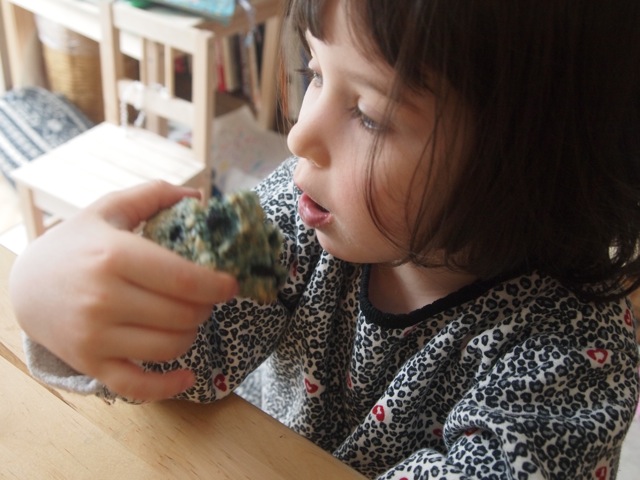
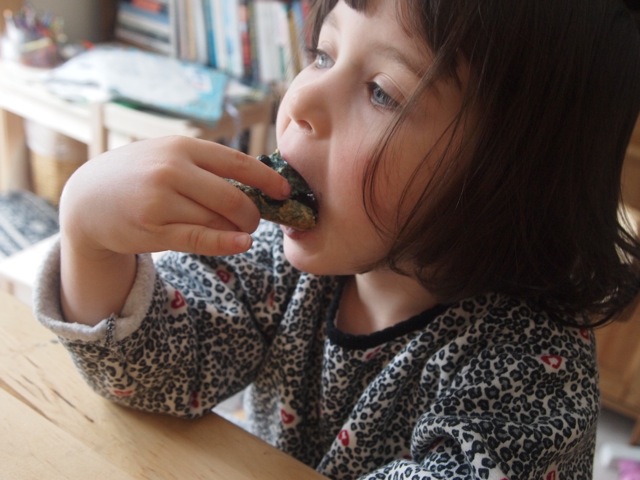
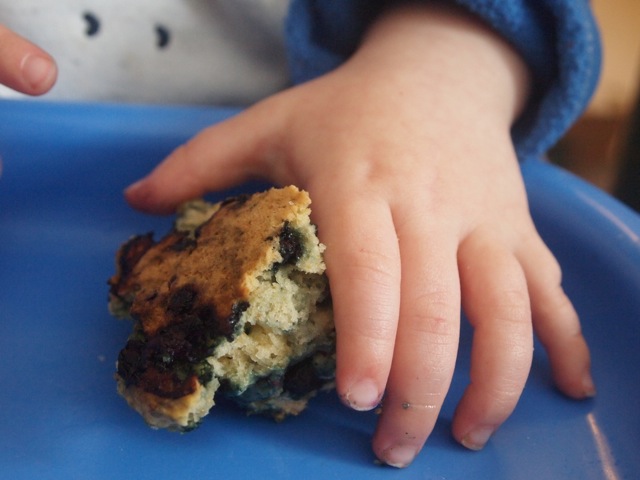
I made scones with Phoebe this morning. It was the first time I’d made scones from scratch, but I was quite pleased with how they turned out. I was also quite pleased to be able to use my vintage pastry cutter for the first time. I’m pretty sure it’s from my grandmother’s house.

The scones were really yummy by the way. I use the past tense because they are long gone. I can’t tell you how well they preserve because they didn’t stand a chance in our household.

roasted caramelized pears

I made a discover recently: I love to roast things. Mostly I roast vegetables, but a couple of months ago, I decided to try roasting pears. Now I have a new food love.

Roasting pears is really easy, and if you use juicy ripe ones, you get the added bonus of caramel flavor without adding even a bit sugar. Here’s what I do:

  1. Start with ripe pears. I like to use Bartlett, once they’ve turned from green to yellow. I find things work best with pears that have gotten somewhat soft, but not totally mushy.
  2. Cut pears in half, peel, and cut/scoop out the cores.
  3. Arrange them flat side down in a single layer in 13×9 glass baking pan, or your roasting pan of preference.
  4. Bake at 350 degrees for about an hour.
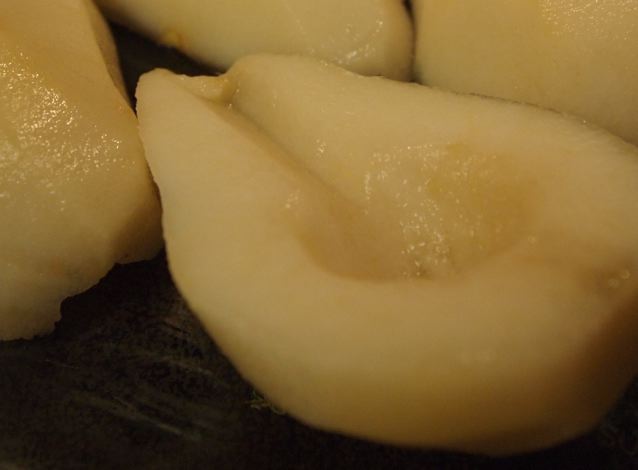
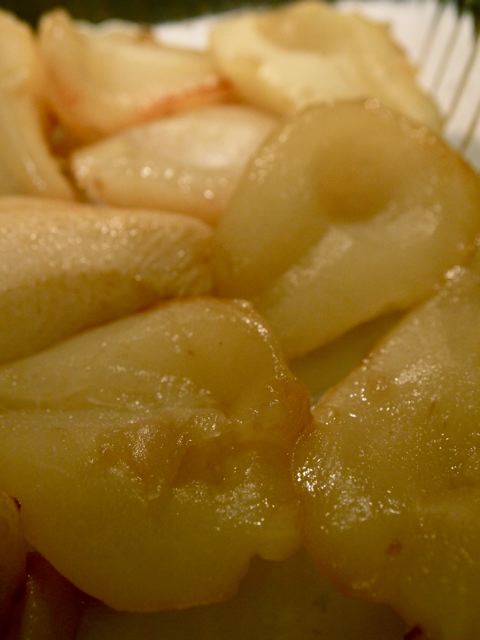
  5. When finished, the pears will be lightly browned and the juices that have run from the fruit will have mostly evaporated and caramelized.
  6. Remove the pears from the pan with a spatula. Put a tablespoon or two of water in the baking pan, and stir around with the spatula, scraping the caramel from the bottom of the pan. (You may want to let the pan cool a few minutes first, especially if using a glass pan.) Poor the resulting caramel/juice mixture over your pears, which will absorb most of the liquid.
  7. Serve warm. (I like them as they are, but I imagine they’d be good with vanilla ice cream, as well.) (They’re also pretty good cold, for that matter.)

pb055234
1. The ingredients: some ripe bartlett pears.

pb055240
2. Some pears that have been halved, peeled and cored.

pb055244
3. Pear halves arranged in a baking pan.

pb055245
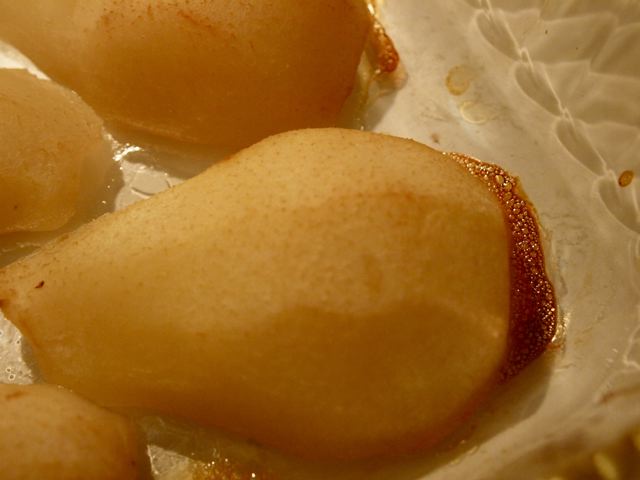
4. Roasted pears just out of the oven. (Okay, I did add a bit of extra cut-up pear. You don’t want the pan too full, though, or the juices won’t caramelize.)

pb055248
5. Some of the caramelized juices stuck to the pan.

pb055258
6. Roasted caramelized pears, ready to eat.

under the wire (or what I had for breakfast this morning)

Here it is, past 11:00 at night on day 3 of NaBloPoMo. And I’m (moderately) at risk of not getting out my requisite post of the day. There’s a conference I’ve been attending this weekend that is put on by my program, so I haven’t been home a lot.

Mind you, I did have a moment, whilst I was sitting on the floor at the back of a talk, when I considered whipping out my laptop to compose a post. I did manage to control the impulse, in large part because it would have seemed a terrible breach of etiquette. I felt a bit like a junkie, though. “I’ll just post this once. It’ll only take a couple of minutes. No one will notice.” After the talk, I went with some friends to visit a friend who is in the hospital with her new baby. As we sat and visited, I looked longingly at the ethernet cable hanging out of my friend’s laptop. Again, I controlled the urges. And I waited till I got home. I even talked to John and ate a bit of dinner before getting out the computer.

But now this means it’s late. And I’m tired. So I should post something. And seeing as people have been known to joke about having their daily posts degrade to the level of “what I had for breakfast this morning,” I thought I might take up that topic myself. Because this morning, I had a really good breakfast.

    Brown Rice and Berry Breakfast
    1-ish cup of cooked brown rice (short grain brown rice is best)
    1 third-ish cup of frozen berries (this morning I had blackberries)
    a drizzle of real maple syrup (I like Grade B, the darker kind)

    I usually use leftover brown rice, that has been cooked in a rice cooker with a bit of salt and oil (vegetable or olive oil). I take a serving of rice, put it in a bowl, and drizzle the maple syrup over it. I then pop it in the microwave, uncovered, for about a minute and a half. (It’s important to get the rice really hot all the way through, otherwise the texture will have that pasty cold rice texture.) After the rice is hot (and removed from the microwave) I next microwave the berries in a separate bowl for about a minute, or until the berries are thawed and juicy. I poor the berries and juice over the top of the rice, and let it stand for a minute or two to cool. Then I eat it.

The taste is a bit like a fruit cobbler, but with a somewhat chewy texture. It seems almost too dessert-like for breakfast. But it’s very filling and nutritious: high in fiber, low in sugar (depending on how much syrup you drizzle), with a decent amount of protein.

making faces and saving thyme

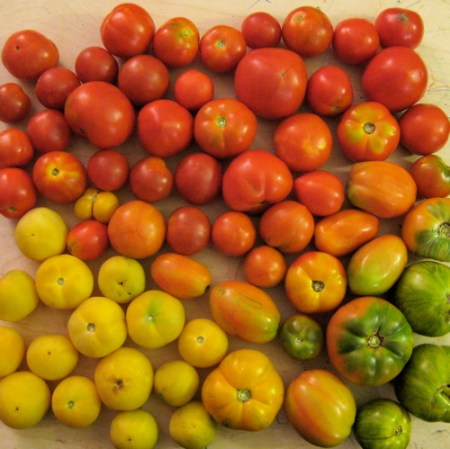
Yesterday was my CSA share pick-up day at the farm, again. And like the last 2 weeks, the share included 10 pounds of tomatoes. Here they all are in their polychromatic glory:

gradient_tomatoes.jpg

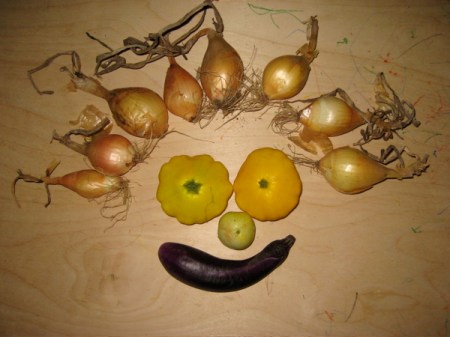
We also got some onions, a couple of small summer squashes, eggplants (I traded in my peppers for some extra eggplants), and some more basil. Inspired by Magpie Musing’s face of last week, I have put together my own vegetable face, based on the tradition started at The Great Big Vegetable Challenge.

onion_hair_face.jpg

I have quite a bit of thyme left from last week. (Also some basil and tomatoes.) I just roasted some potatoes with olive oil and thyme. But I may have to freeze it, as I don’t think I can use all of it before it goes bad. I don’t want to waste it. (Yes, I am fighting the pun. Fighting it!)

We had some friends over on Saturday, and I was able to use some of the thyme in a couple of dishes. My guests (at least those over the age of 5) each lent a hand with some food prep, including plucking thyme leaves off the sprigs.

The problem with cooking with thyme is that it is an herb that asks, begs and screams out to be used in puns. One of my guests abruptly cut off another guest in mid thyme-pun with a “don’t!”, but then shortly after succumbed to one of her own thyme puns. (“But you wouldn’t let me!” the interrupted guest cried.) It is a devilish thing. Some of the puns were not even entirely intentional, such as:

  • Did we run out of thyme?
  • No, we’ve got lots of thyme.
  • How much thyme do we have?
  • Are we going to save thyme?
  • I challenge you not to think up any of your own.

    Anyhow, dinner went well, and I had a grand time. (Though I was busy cooking most of the evening.) Here’s what we had for dinner.

    1. Roasted Tomato, Garlic and Chevre Frittata
      I followed this recipe from pantry permitting, and it was really tasty, and not too much work. One of the steps involved roasting tomatoes and garlic in the oven with olive oil. I roasted a big batch of tomatoes, leading to quite a bit of garlic-infused rich roasted tomato juice, which was really tasty.
    2. And because one of my guests does not like a goat cheese, I made a second fritatta.

    3. Roasted garlic and tomato frittata with monterey jack cheese and carmelized onions
      This was good, too. I basically used the recipe above, but with chunks of monterey jack cheese in place of the goat cheese, and with some onions that I browned on the stove with olive oil.
    4. stir-fried basil eggplant
      I threw some sauteed eggplant in with some carmelized onions, along with some basil left from the previous week, and soy sauce. (This was very, very loosely based on a Thai basil eggplant recipe.)
    5. tomato, mozzarella and basil salad
      Tomatoes, tomatoes, and more tomatoes. Cubed up with some cubes of fresh mozzarella, and tossed with basil leaves, olive oil and balsamic vinegar.
    6. cucumber salad with roasted tomato and garlic yogurt dressing (that practically is the recipe):

      4-ish medium cucumbers, peeled (the skins were very bitter) and thinly sliced

      For the dressing I mixed (and the measurements are guesses. I don’t measure when I improvise):
      3 TBS plain whole milk yogurt
      juice and olive oil from the roasting pan from the tomatoes and garlic (about 1/4 cup)
      2 cloves roasted garlic, chopped
      thyme leaves from 4 or 5 sprigs of thyme
      a bit of fresh basil, shredded
      a splash of red wine vinegar
      salt

    Dessert was ice cream. I didn’t make it. (In a previous life, I would have made 2 or more desserts, and served things up in courses.)

    saturday_dinner.jpg

    I wanted to show my guests how pretty the vegetables looked, but realized that I wouldn’t have time to do all the preparation after their arrival and still eat at a decent hour. So I took a photo. The round orange vegetables that look rather tomato-like are actually Turkish eggplants. The photo also includes a bowl of the roasted tomatoes, and a small bowl of the roasted garlic cloves, as well as the little bundle of thyme that I have not yet wasted. Plus a couple of little zucchinis that didn’t make it on to the menu, and which I ended up wasting. I just can’t think of any good jokes about wasting zucchinis. Certainly not any puns.